Release time:2019-07-29
HOW TO INSTALL A TOILET AND ADD A SHUTOFF VALVE
Highlights:
Step 1: Place the Wax Ring
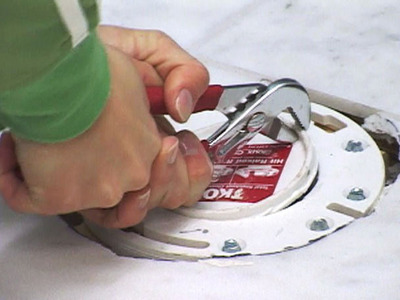
REMOVE THE CENTER OF THE TOILET FLANGE WITH A HAMMER AND PLIERS.
PLACE TWO CLOSET BOLTS TO HOLD THE TOILET IN PLACE. ADD WASHERS ON TOP OF THE BOLTS, THEN PLACE THE WAX RING ON THE TOILET FLANGE.

Step 2: Attach the Shutoff Valve
USE A TUBING CUTTER TO CUT THE COPPER WATER SUPPLY LINE TO THE PROPER HEIGHT (IMAGE 1).
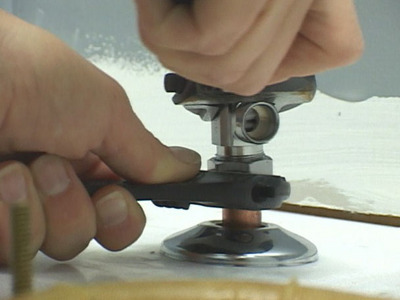
COVER THE SUPPLY LINE WITH AN ESCUTCHEON AND ATTACH THE SHUTOFF VALVE. USE TWO WRENCHES TO TIGHTEN THE VALVE (IMAGE 2).

Step 3: Attach the Supply Line and Position the Toilet
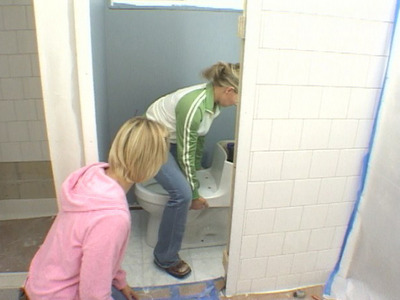
Attach one end of the water supply line to the toilet (Image 1). Set toilet in place.
Cut closet bolts to the proper height and cover with finish caps (Image 2).

REMOVE THE CENTER OF THE TOILET FLANGE WITH A HAMMER AND PLIERS.
PLACE TWO CLOSET BOLTS TO HOLD THE TOILET IN PLACE. ADD WASHERS ON TOP OF THE BOLTS, THEN PLACE THE WAX RING ON THE TOILET FLANGE.

Step 2: Attach the Shutoff Valve
USE A TUBING CUTTER TO CUT THE COPPER WATER SUPPLY LINE TO THE PROPER HEIGHT (IMAGE 1).
COVER THE SUPPLY LINE WITH AN ESCUTCHEON AND ATTACH THE SHUTOFF VALVE. USE TWO WRENCHES TO TIGHTEN THE VALVE (IMAGE 2).

Step 3: Attach the Supply Line and Position the Toilet
Attach one end of the water supply line to the toilet (Image 1). Set toilet in place.
Cut closet bolts to the proper height and cover with finish caps (Image 2).

USE A TUBING CUTTER TO CUT THE COPPER WATER SUPPLY LINE TO THE PROPER HEIGHT (IMAGE 1).
COVER THE SUPPLY LINE WITH AN ESCUTCHEON AND ATTACH THE SHUTOFF VALVE. USE TWO WRENCHES TO TIGHTEN THE VALVE (IMAGE 2).

Step 3: Attach the Supply Line and Position the Toilet
Attach one end of the water supply line to the toilet (Image 1). Set toilet in place.
Cut closet bolts to the proper height and cover with finish caps (Image 2).


